To add Voco chat to your website, switch chat on in your Voco dashboard, list the website it may appear on, then copy the one-line snippet and paste it just before the closing </body> tag on every page. Voco chat answers website visitors from the same knowledge as your phone receptionist, and the setup takes about 10 minutes.
How do I switch on Voco website chat?
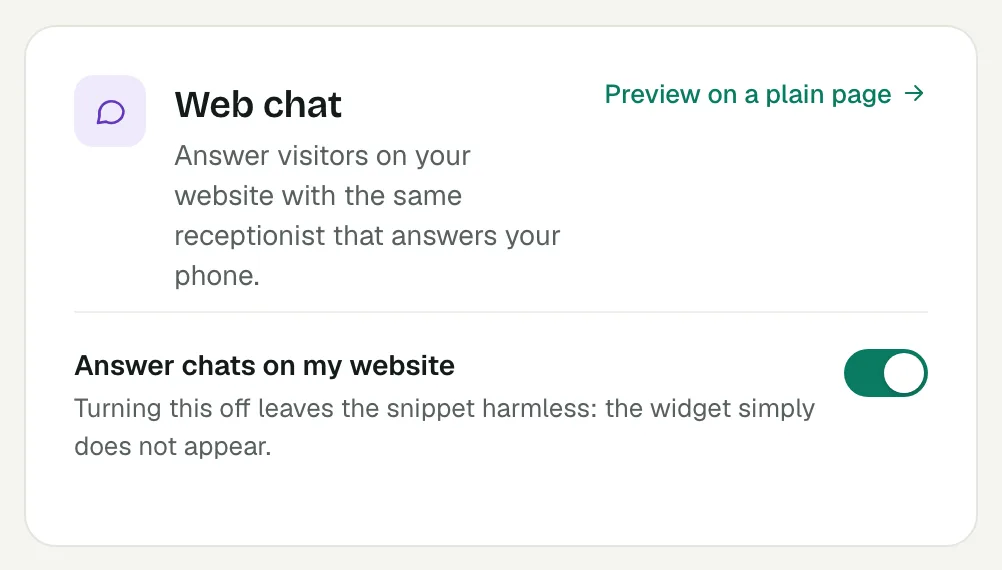
In your Voco dashboard, go to Settings, then Web chat, and switch on Answer chats on my website. Press Save changes. If the page then says "Chat is on, but it cannot answer yet", Voco is still preparing your chat receptionist, which usually takes a minute or two.
Which websites can show my chat?
Voco chat only appears on the websites listed under Where it may appear, one per line. Anyone can read the snippet off your page, so the list stops someone else putting your chat on their site and using your conversations. Voco fills it in from the website on your account, and treats www and the plain address as the same site. Subdomains, such as shop.yourbusiness.co.uk, are included.
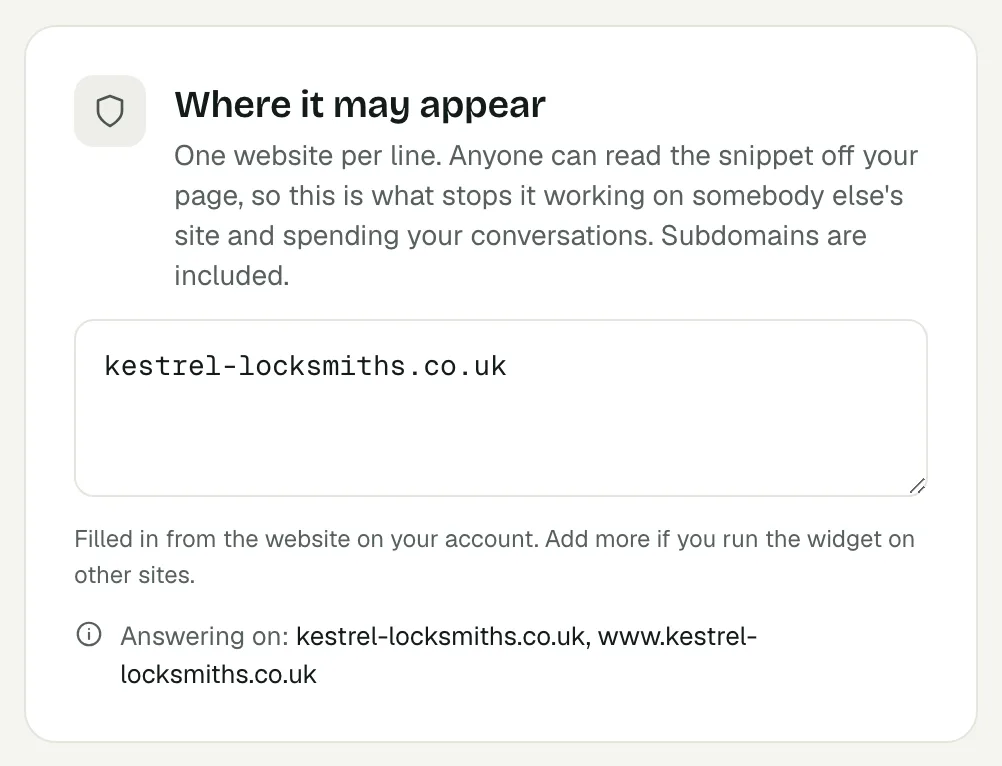
Add every other address your chat runs on, such as a booking site on a different domain. If the list is empty and your account has no website, the chat answers anywhere it is pasted, which the page warns you about.
Where do I paste the Voco chat code?
Press Copy the snippet in Add it to your site on the Web chat settings page, then paste it just before the closing </body> tag on every page you want chat on. The snippet is one line and looks like this, with your own business ID in place of the example:
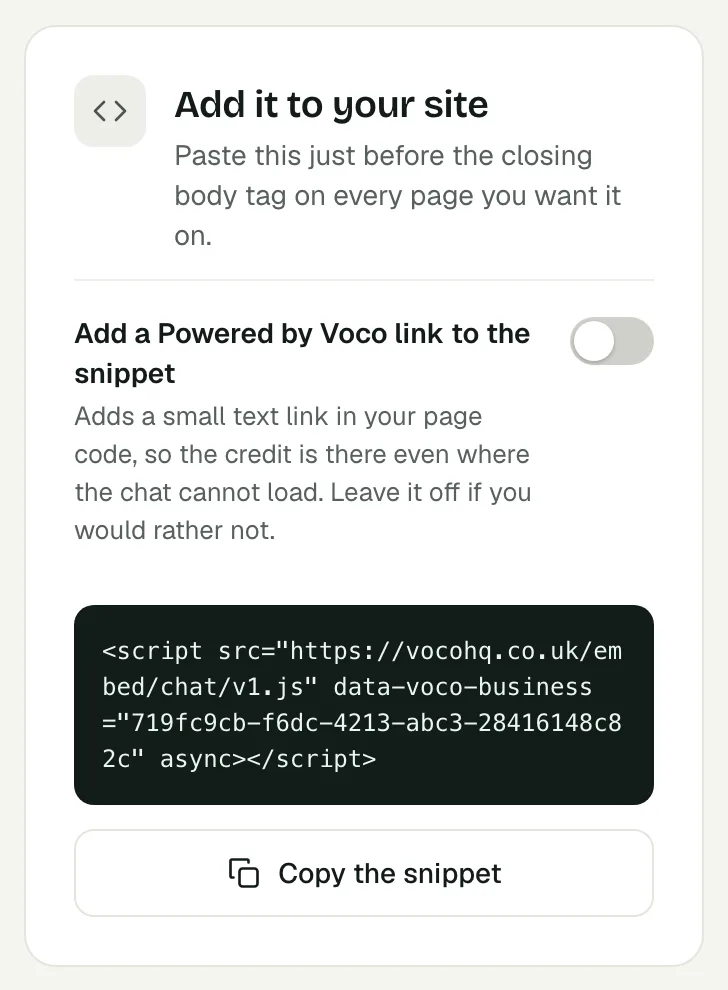
<script src="https://vocohq.co.uk/embed/chat/v1.js" data-voco-business="your-business-id" async></script>Most website builders have a place for code that should appear on every page:
- WordPress: use your theme's footer code setting, or a plugin for adding header and footer code, and paste the snippet into the footer or body section.
- Wix: go to Settings, then Custom code, add the snippet, choose all pages and place it at the end of the body. Wix only allows custom code on premium plans with a connected domain.
- Squarespace: go to Settings, then Advanced, then Code Injection, and paste the snippet into Footer. Code injection is not included on every Squarespace plan.
- Shopify: go to Online Store, then Themes, choose Edit code on your theme, open
theme.liquid, and paste the snippet just above</body>. - Google Tag Manager: add a Custom HTML tag containing the snippet, set it to fire on all pages, and publish the container.
If someone else looks after your website, send them this guide and the snippet. They do not need a Voco login.
How do I change how the chat looks?
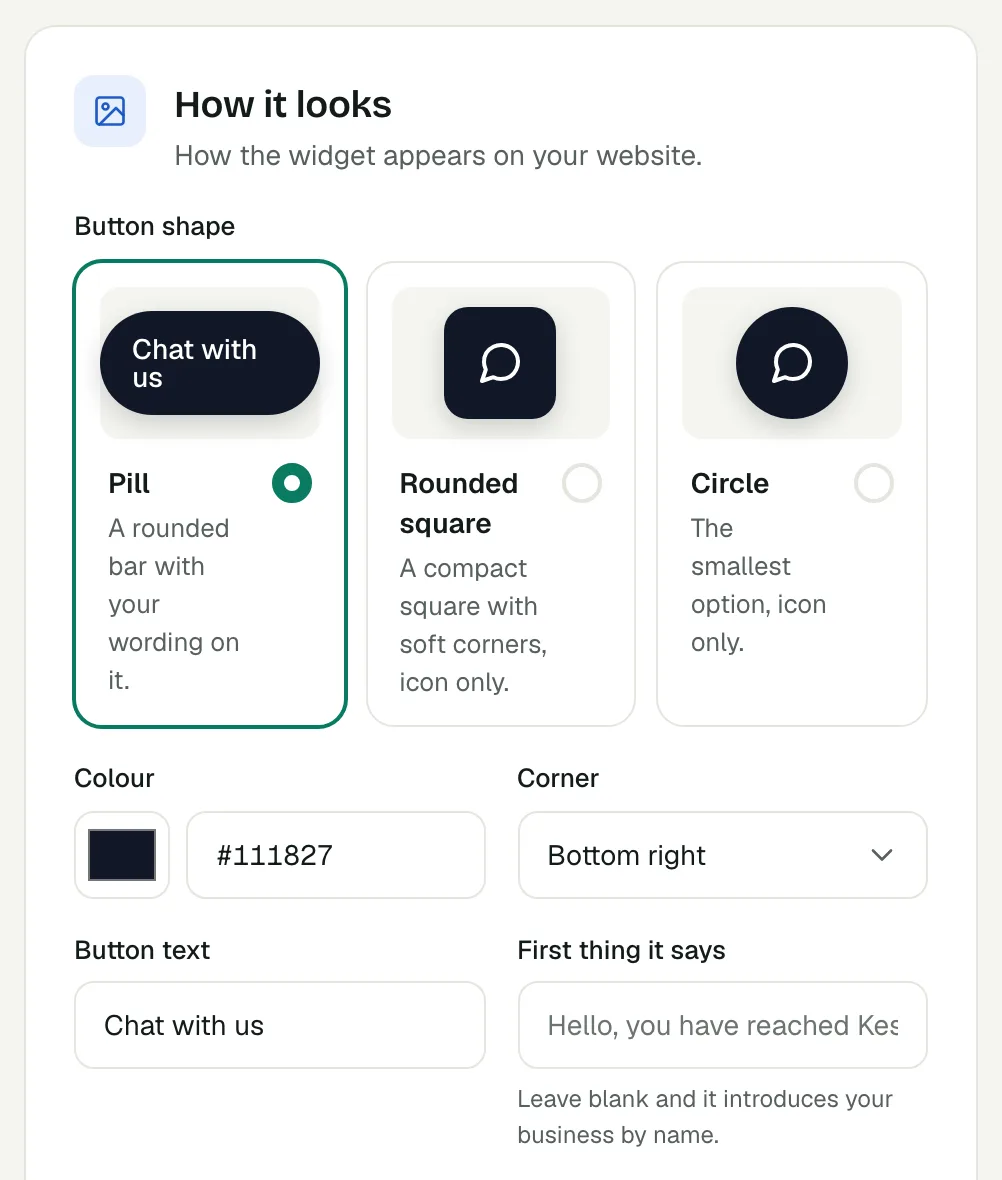
Every visible setting is on the same Web chat settings page, and changes show on your website as soon as you save, without pasting the code again.
- Button shape, Colour and Corner: how the chat button looks and which bottom corner it sits in.
- Button text: the label on the button, "Chat with us" unless you change it.
- First thing it says: the opening message. Leave it blank and Voco introduces your business by name.
- Mention the page they are on and Offer help to someone who lingers: optional prompts for visitors reading a page or staying a while.
- If something is covering it: use this if another part of your website sits on top of the chat button.
How do I check the chat is working?
Open your website in a new browser window, find the chat button in the corner you chose, and ask a question a customer would ask. The conversation appears in Web chat, under Conversations in your dashboard sidebar.
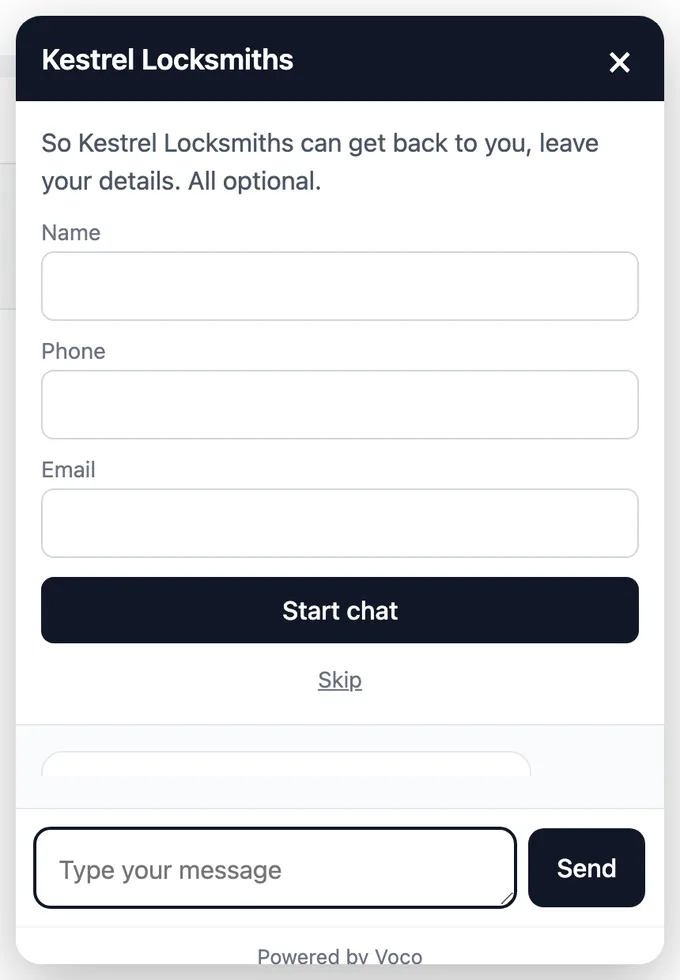
If the button does not appear, check these in order:
- Answer chats on my website is switched on and saved.
- The address you are viewing is listed under Where it may appear.
- The snippet is on the page: view the page source and search for
data-voco-business. - Your website's cache has been cleared, if you use a caching plugin or service.
What does Voco chat cost?
Voco phone plans include a set number of chat conversations each month, and chat-only plans include more. See Voco pricing for the current numbers. When the included conversations run out, the chat keeps answering and takes the visitor's name and number for you. On pay as you go, you can switch on Let the widget use my call credit to let it keep chatting, paid from your credit.