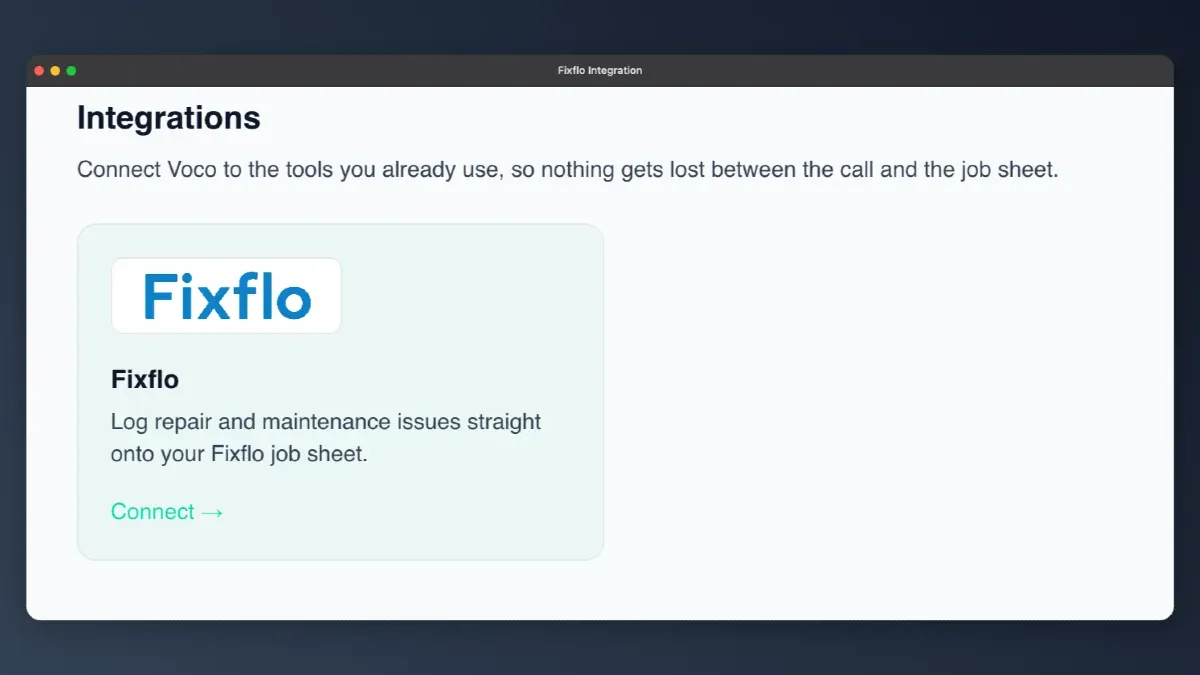
This guide shows letting agency staff how to set up the Fixflo API and connect it with Voco, so that repair and maintenance calls answered by Voco are logged straight onto your Fixflo job sheet. The whole thing takes about 10 minutes.
Do not let the word API put you off. There is no coding involved. Setting up the Fixflo API for Voco simply means creating an authentication token in Fixflo (think of it as a long, secure password that lets Voco talk to your Fixflo account) and pasting it into a form in Voco. Two fields and a toggle, and you are done.
What you need before you start
- A Fixflo account with administrator access. The Integrations area in Fixflo is restricted to administrator users. If you are not an administrator, ask your account admin to do Part 1 for you or to upgrade your access.
- Your agency's Fixflo web address. This is the part before
.fixflo.comwhen you log in. If you sign in atacme.fixflo.com, your web address isacme. - A Voco account with an active subscription. The Fixflo integration is included on every plan at no extra charge.
Part 1: create your Fixflo authentication token
Step 1: log in to Fixflo as an administrator
Go to your agency's Fixflo web address, for example acme.fixflo.com, and sign in with an administrator account.
Step 2: open Setup, then Integrations
From the Fixflo menu, open Setup and choose Integrations. If you cannot see this option, you are not logged in as an administrator; see the troubleshooting section below.
Step 3: add a token and name it Voco
Select Add token and give the token a name such as Voco. Fixflo recommends one token per connected system, so give each integration its own token rather than sharing one between tools.
Step 4: copy the token somewhere safe
Copy the new token. You will paste it into Voco in a moment. One thing to remember: if this token is ever reset or deleted in Fixflo, the connection to Voco will stop working until you reconnect with a new one.
If you would like Fixflo's own instructions, see their help article on how to create an authentication token.
Part 2: connect Fixflo in Voco
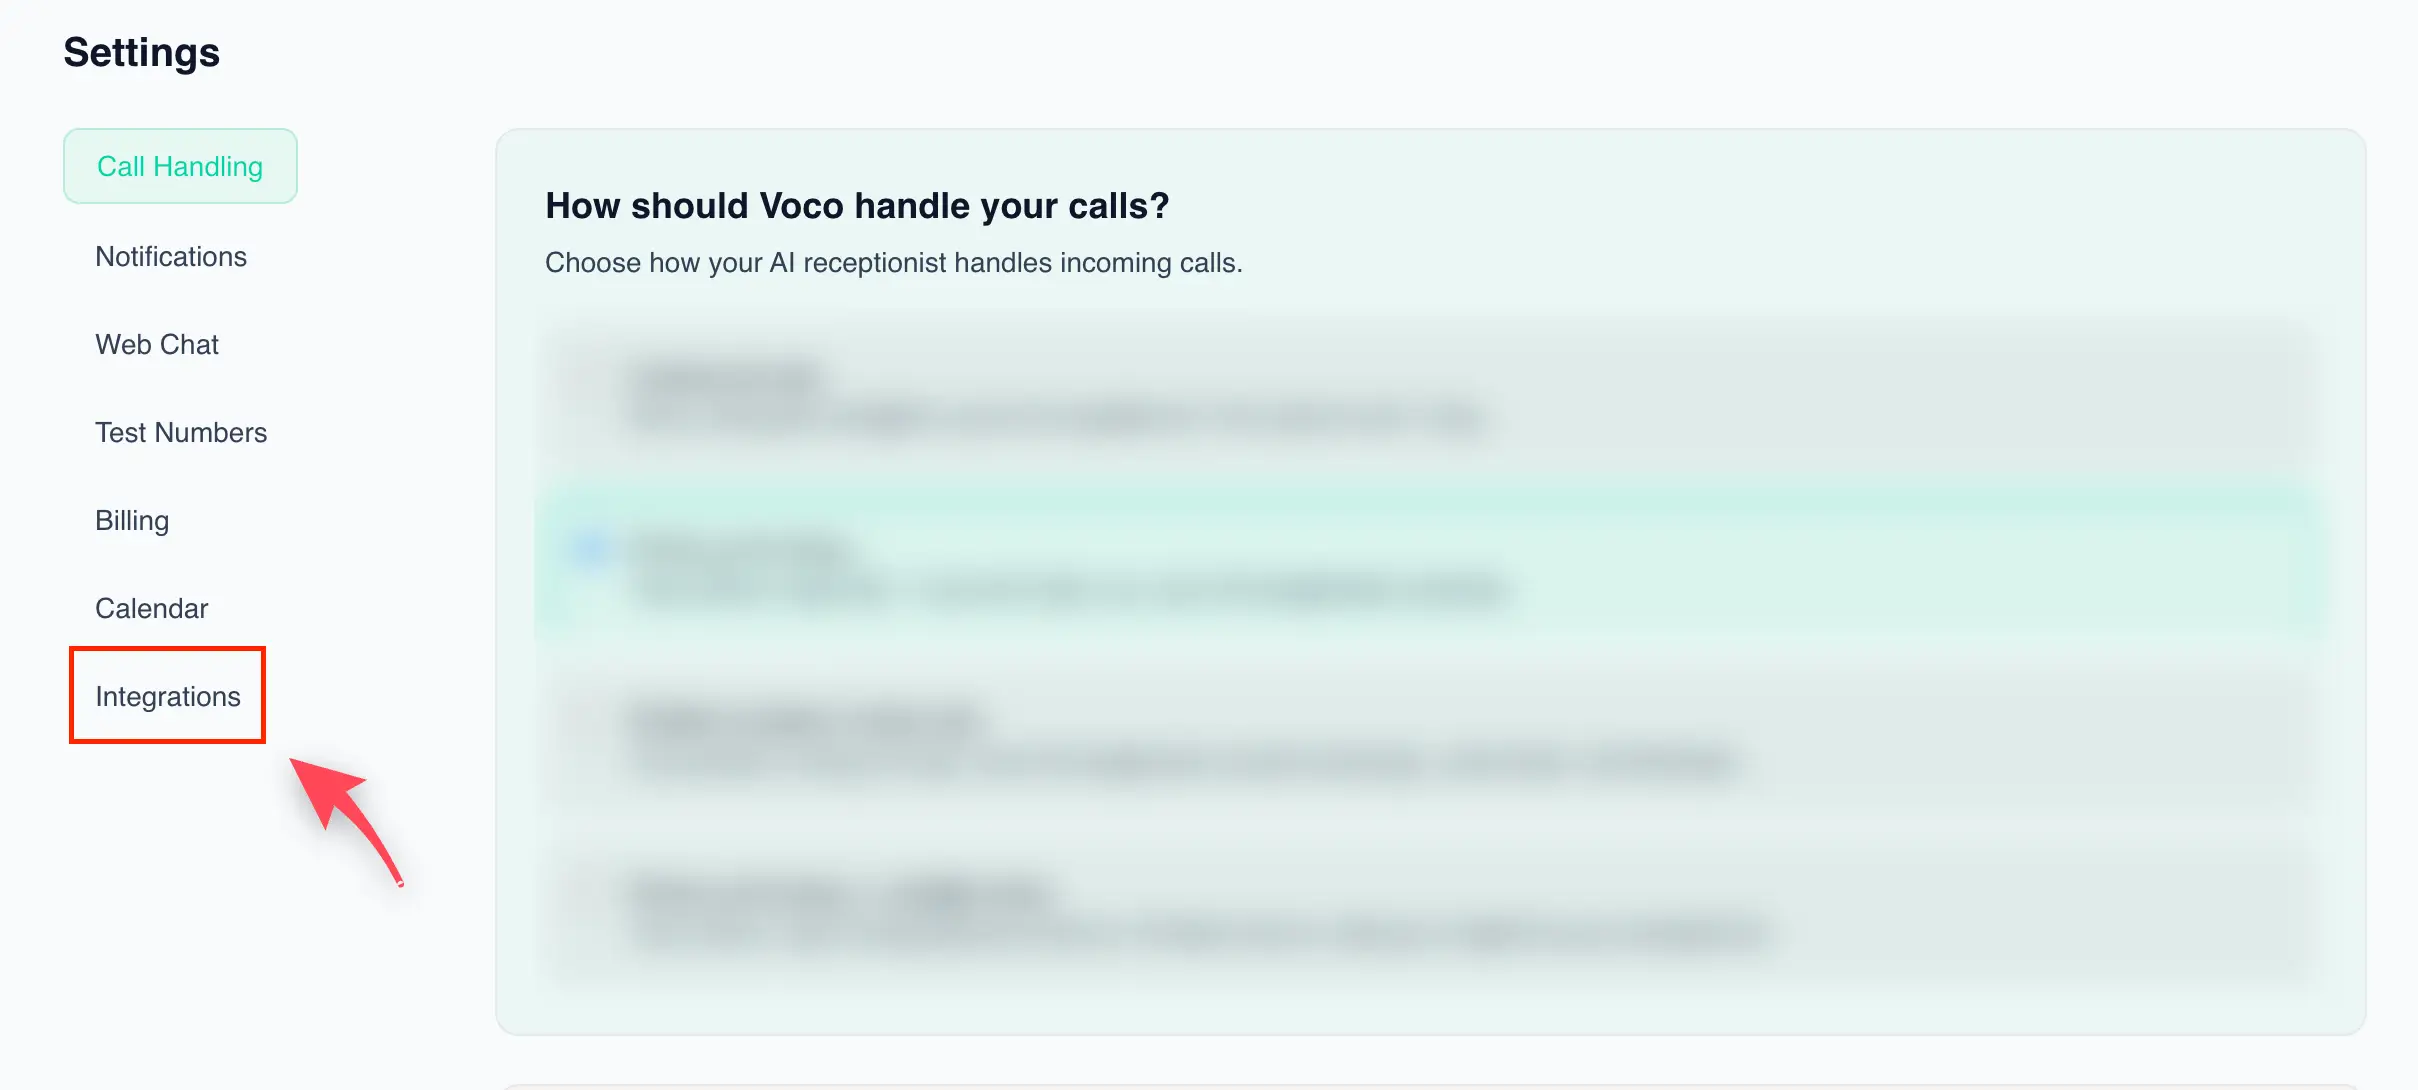
Step 5: open Settings, then Integrations in Voco
Log in to your Voco dashboard, go to Settings, choose Integrations, and click Connect on the Fixflo card.
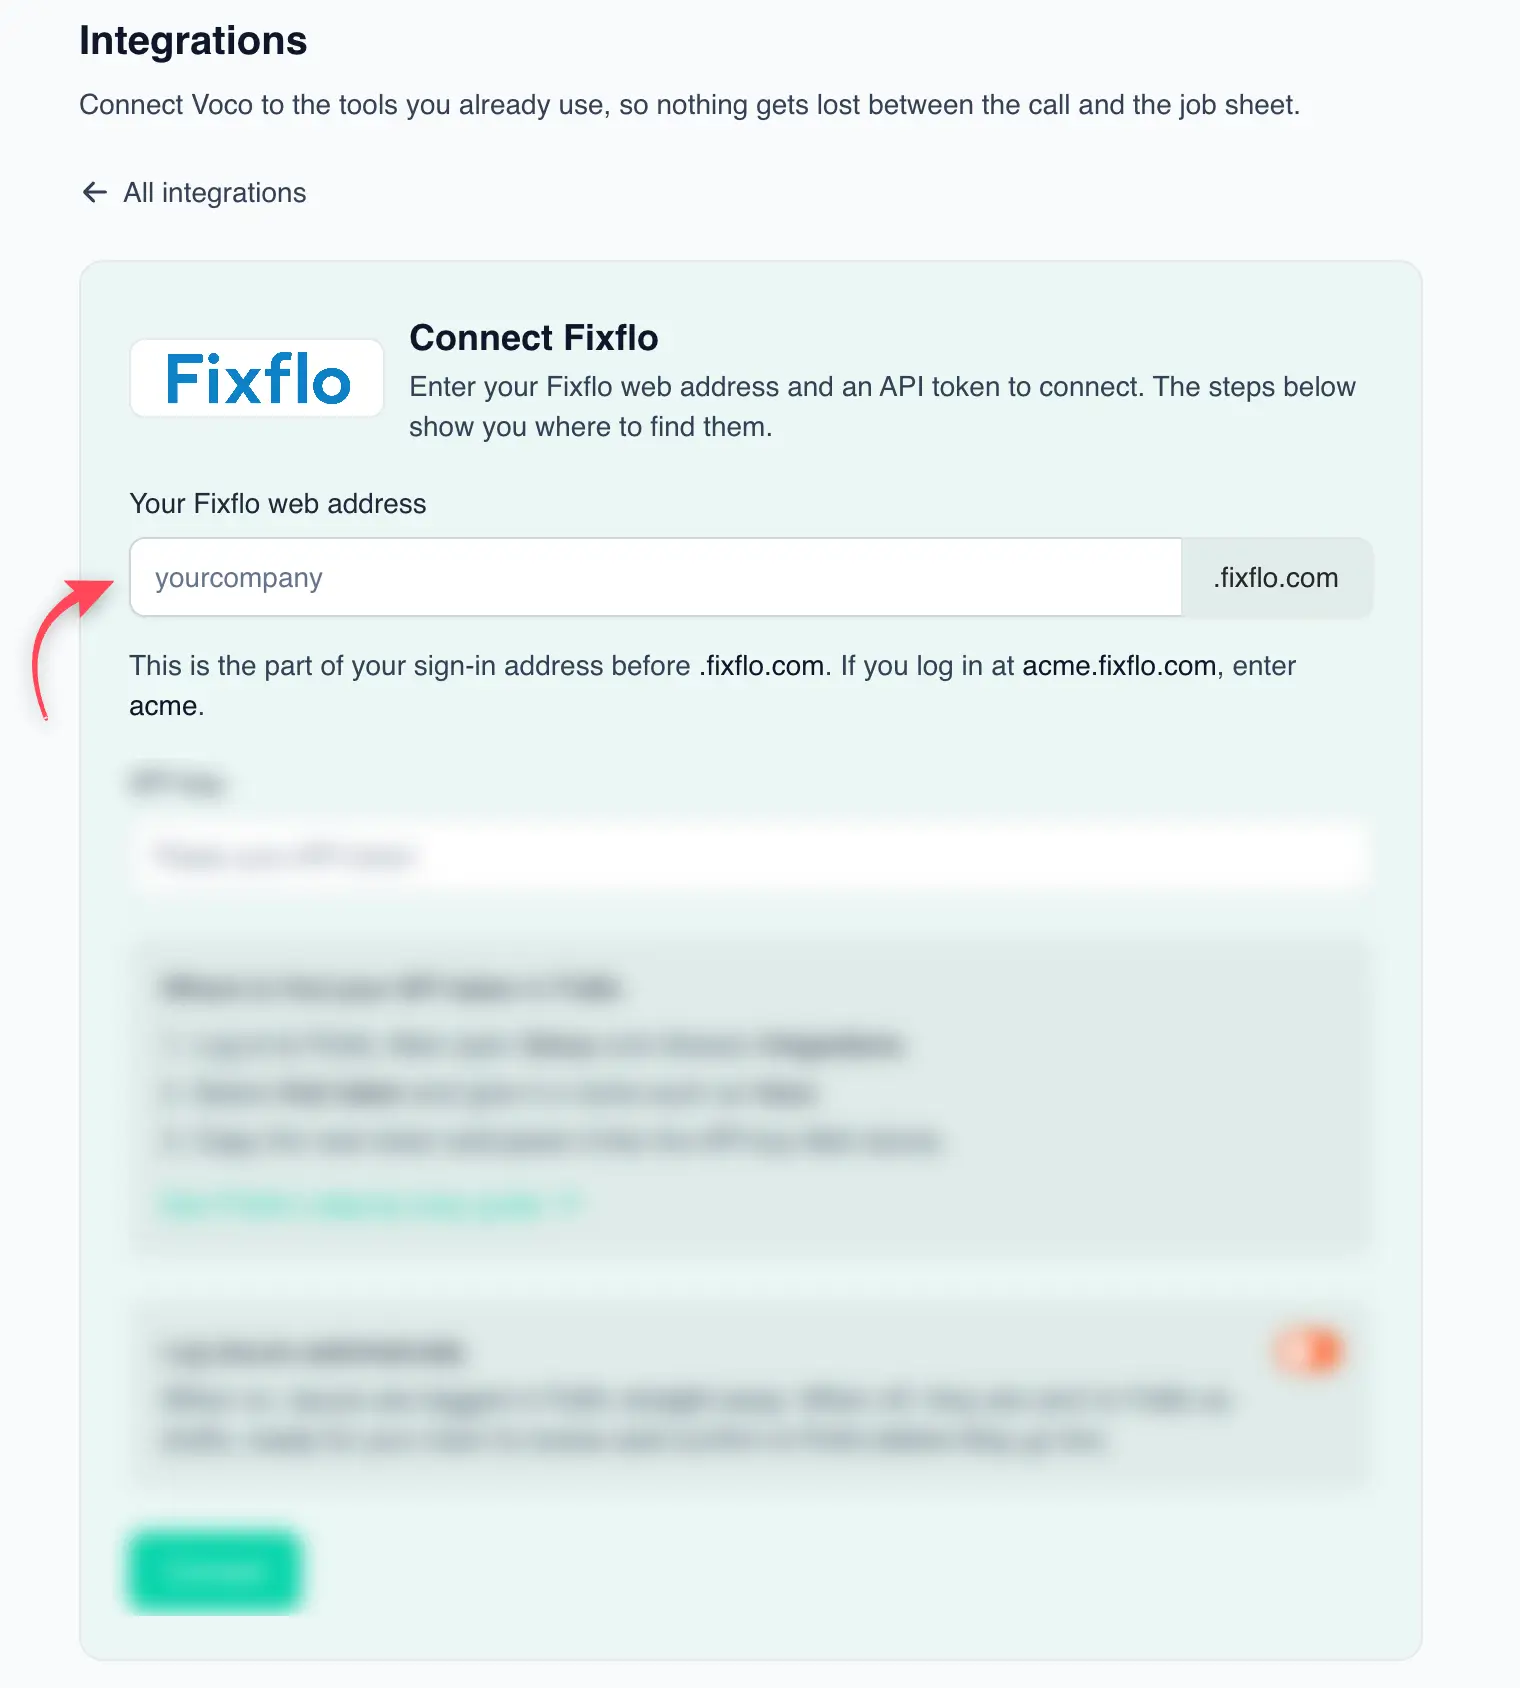
Step 6: enter your Fixflo web address
Enter just your subdomain, without https:// and without .fixflo.com. So if you log in at acme.fixflo.com, enter acme. Letters, numbers and hyphens only.
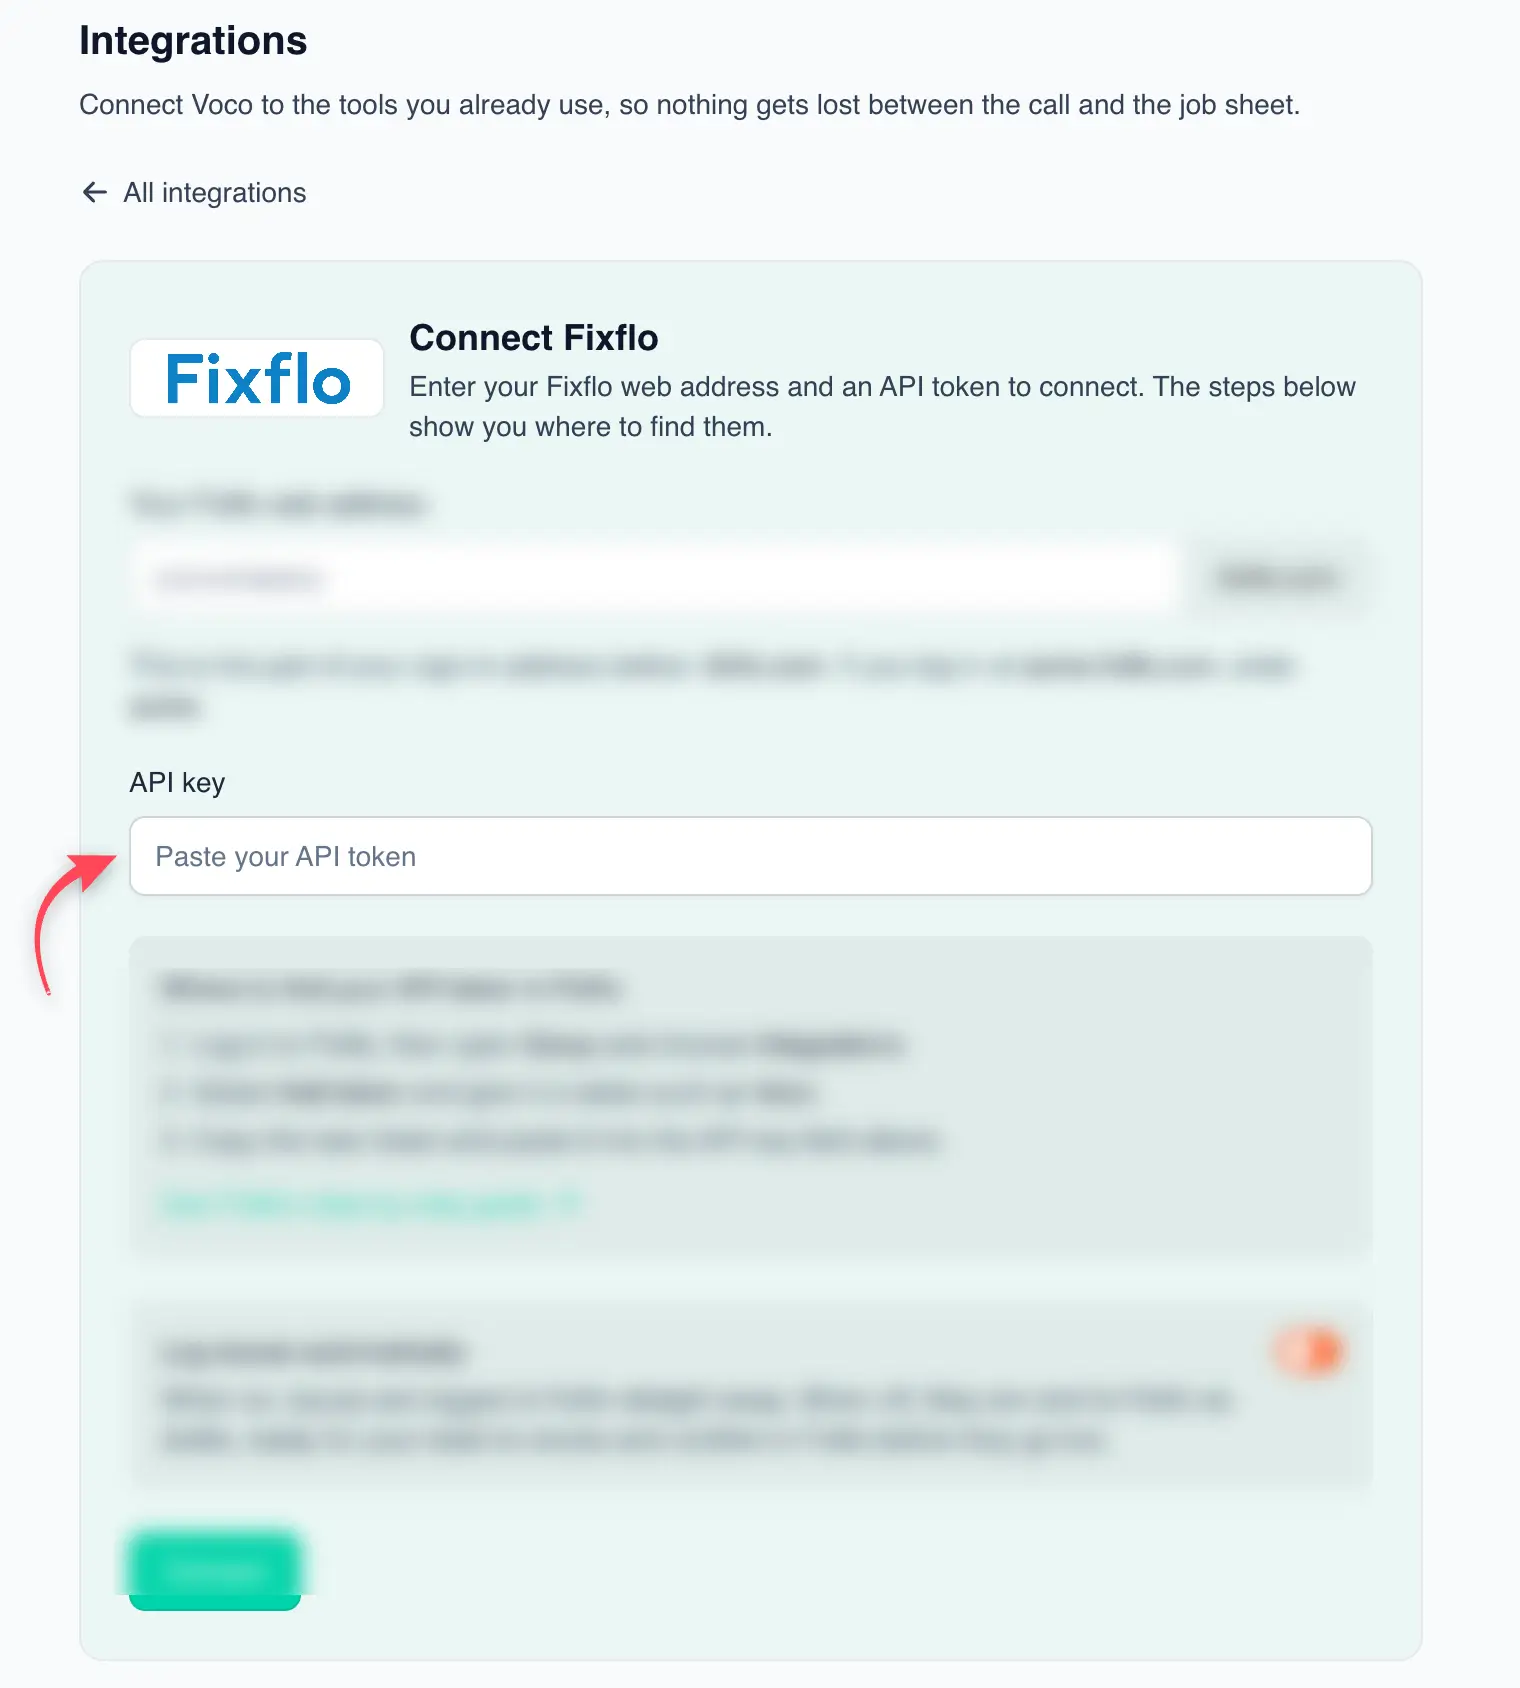
Step 7: paste your token into the API key field
Paste the token you copied in Step 4 into the API key field. Make sure you paste the whole thing.
Step 8: Choose how issues are logged
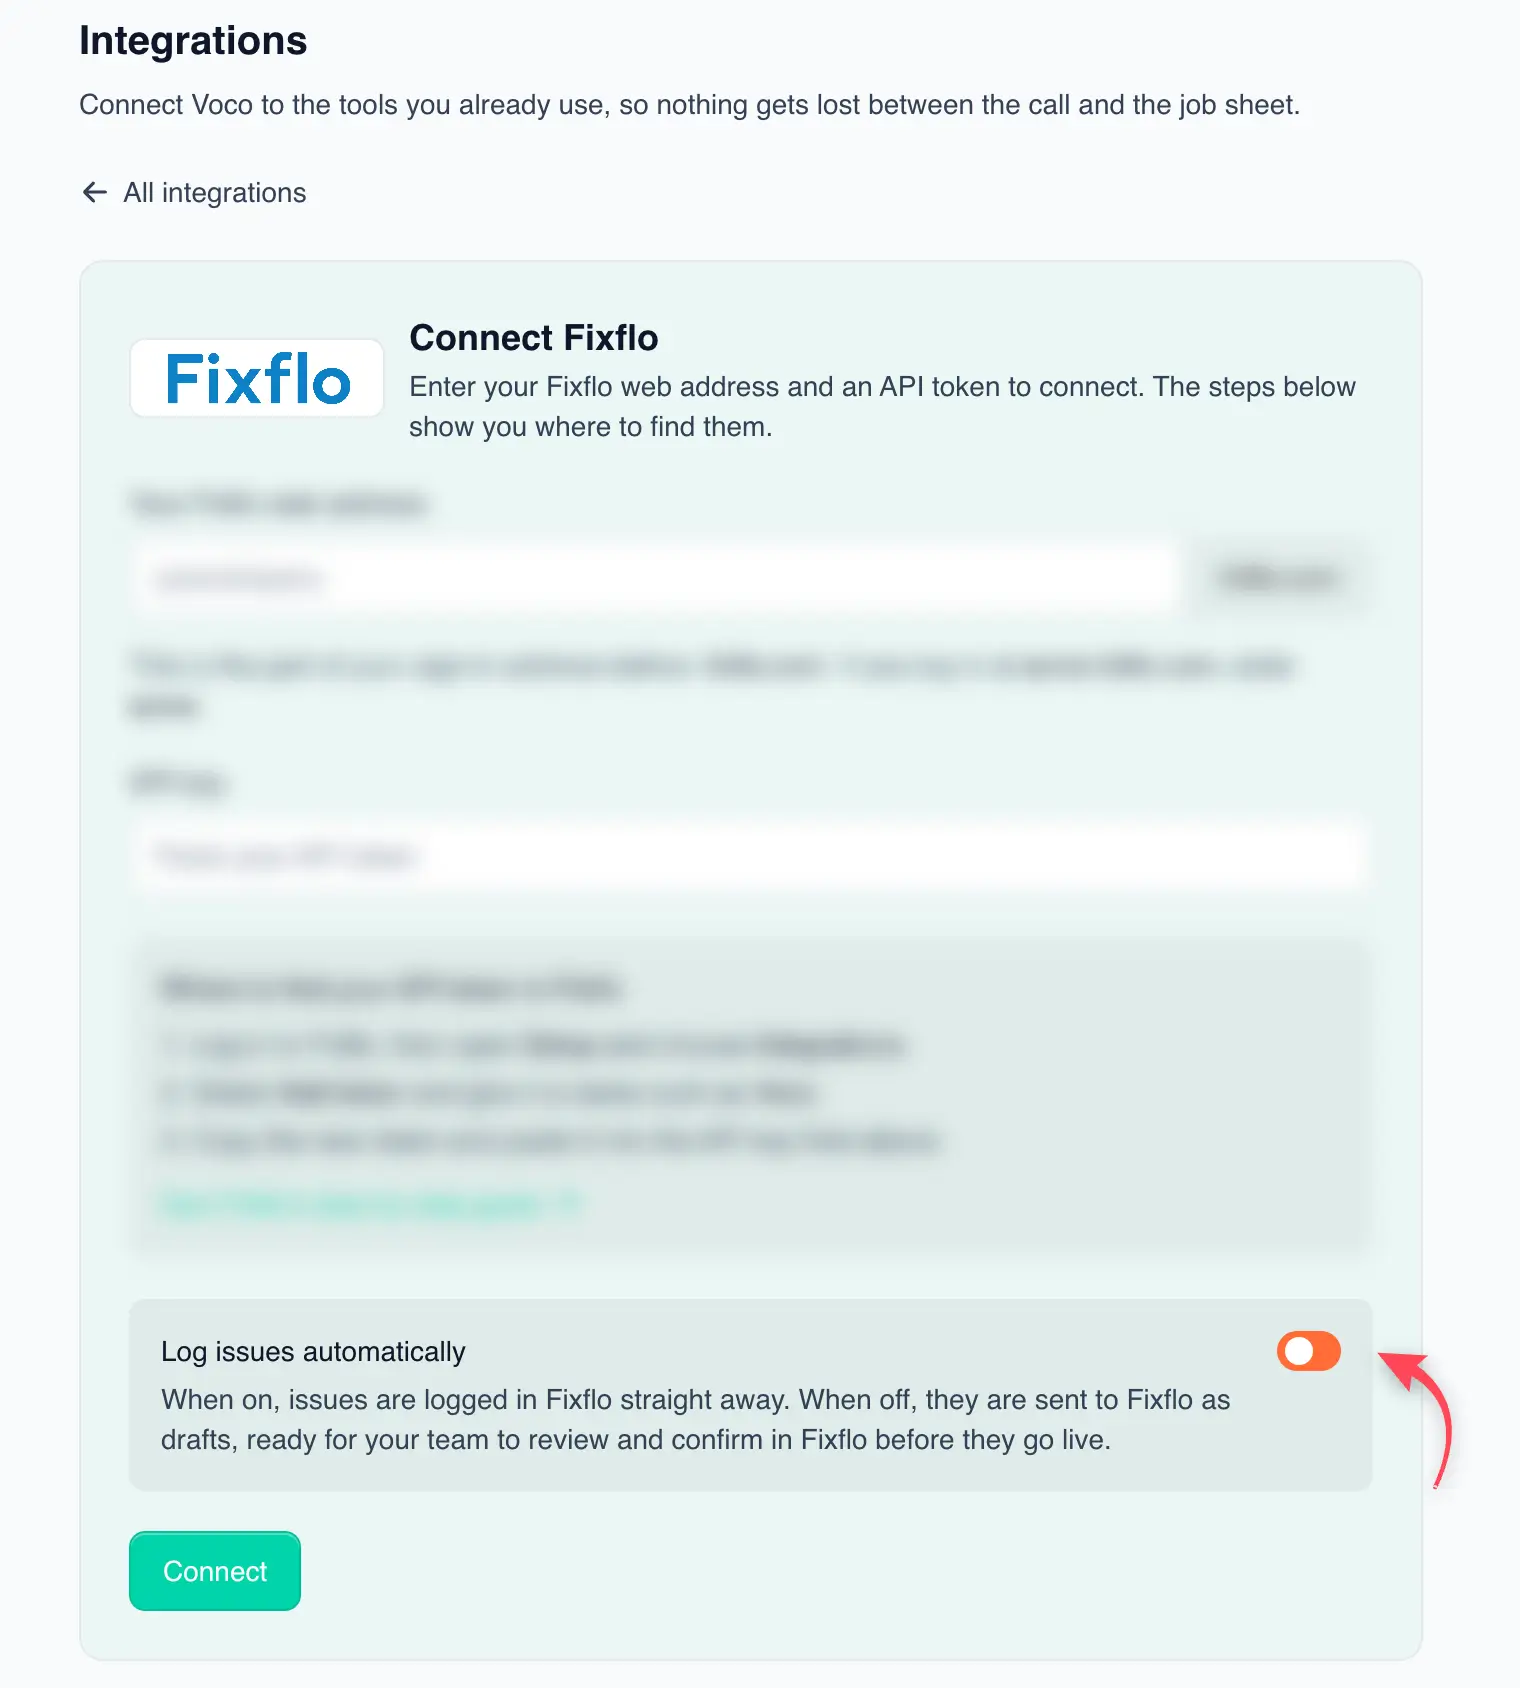
The "Log issues automatically" toggle controls what happens when Voco captures a repair call:
- Off (recommended to start): issues are sent to Fixflo as drafts for your team to review and confirm before they go live.
- On: issues are logged onto your live Fixflo job sheet immediately, with no manual step.
Most agencies start with drafts, get comfortable with what Voco captures, then switch on automatic logging later. You can change this setting at any time.
Step 9: save, and let Voco check the connection
Click save. Voco tests the connection live against Fixflo on the spot; you will see "Checking connection..." while it does. If the details are wrong you will see an error message and nothing is saved until the connection works, so you can never end up with a broken setup. Your API key is encrypted at rest and will never be displayed again after saving.
Part 3: test it with a real call
Step 10: make a test call
Ring your Voco number and report a pretend repair, for example a leaking tap, and give a property address when asked.
Step 11: Check Fixflo
After the call ends and Voco has analysed it, the issue appears in Fixflo: as a draft if the toggle is off, or as a live issue if automatic logging is on. You should see the issue title, the fault description, your name and contact details from the call, and the property address.
Step 12: Check the Voco Integrations page
Back in Voco, the Integrations page lists your test report with its status and a link to the original call, so you can always trace any Fixflo issue back to the conversation it came from.
That is it. From now on, every maintenance-related call Voco answers, day or night, will be logged into Fixflo automatically.
Troubleshooting
"We could not connect with these details"
Re-check your web address: it should be the subdomain only, with no .fixflo.com and no https://. Then go back to Fixflo, copy the token again, and paste it in full. Nothing is saved until the connection test passes, so just correct the details and try again.
I cannot see Integrations in Fixflo's Setup menu
The Integrations tab is restricted to administrator users in Fixflo. Ask your account administrator to create the token for you or to give you administrator access.
A call did not create an issue in Fixflo
That is usually by design. The integration only fires for maintenance-related calls: repairs, faults, leaks, broken items and similar. General enquiries, wrong numbers and duplicate reports are deliberately ignored so your job sheet stays clean. Each call creates at most one issue.
The token was reset or deleted in Fixflo
Resetting or deleting a token in Fixflo breaks whatever uses it. Create a new token in Fixflo, then reconnect in Voco with the new token. Your web address and toggle setting are preloaded, so you only need to paste the new key.
A submission to Fixflo failed
Voco retries failed submissions automatically, up to three attempts. If something still cannot get through, the last error is shown on your Integrations page, so nothing fails silently. If Voco created a draft but could not commit it automatically, the draft is preserved in Fixflo for manual review rather than lost.
Not using Voco yet?
Voco is an AI phone answering service for UK letting agents and property managers. It answers every call 24/7, captures the details, and with this integration it logs repair calls straight into Fixflo. See everything the Fixflo integration does, read the launch announcement, or book a demo to hear it answer a real repair call.